A high electric bill rarely comes from one obvious problem. It is usually the combined result of air leaks, insufficient insulation, aging equipment, inefficient lighting, and household systems working harder than they should. Taking home efficiency upgrades step by step helps you avoid spending money on improvements that look good on paper but fail to address the biggest source of energy waste.
The right sequence matters. Replacing a working HVAC system before fixing major duct leakage or attic insulation can leave savings on the table. A measured retrofit plan starts with the building itself, then improves the equipment that serves it.
Start With an Energy Assessment, Not a Shopping List
The first step is identifying where energy is being lost and which upgrades will have the strongest financial impact. Utility bills provide useful clues, especially when usage rises sharply in summer or winter, but they cannot diagnose the cause on their own.
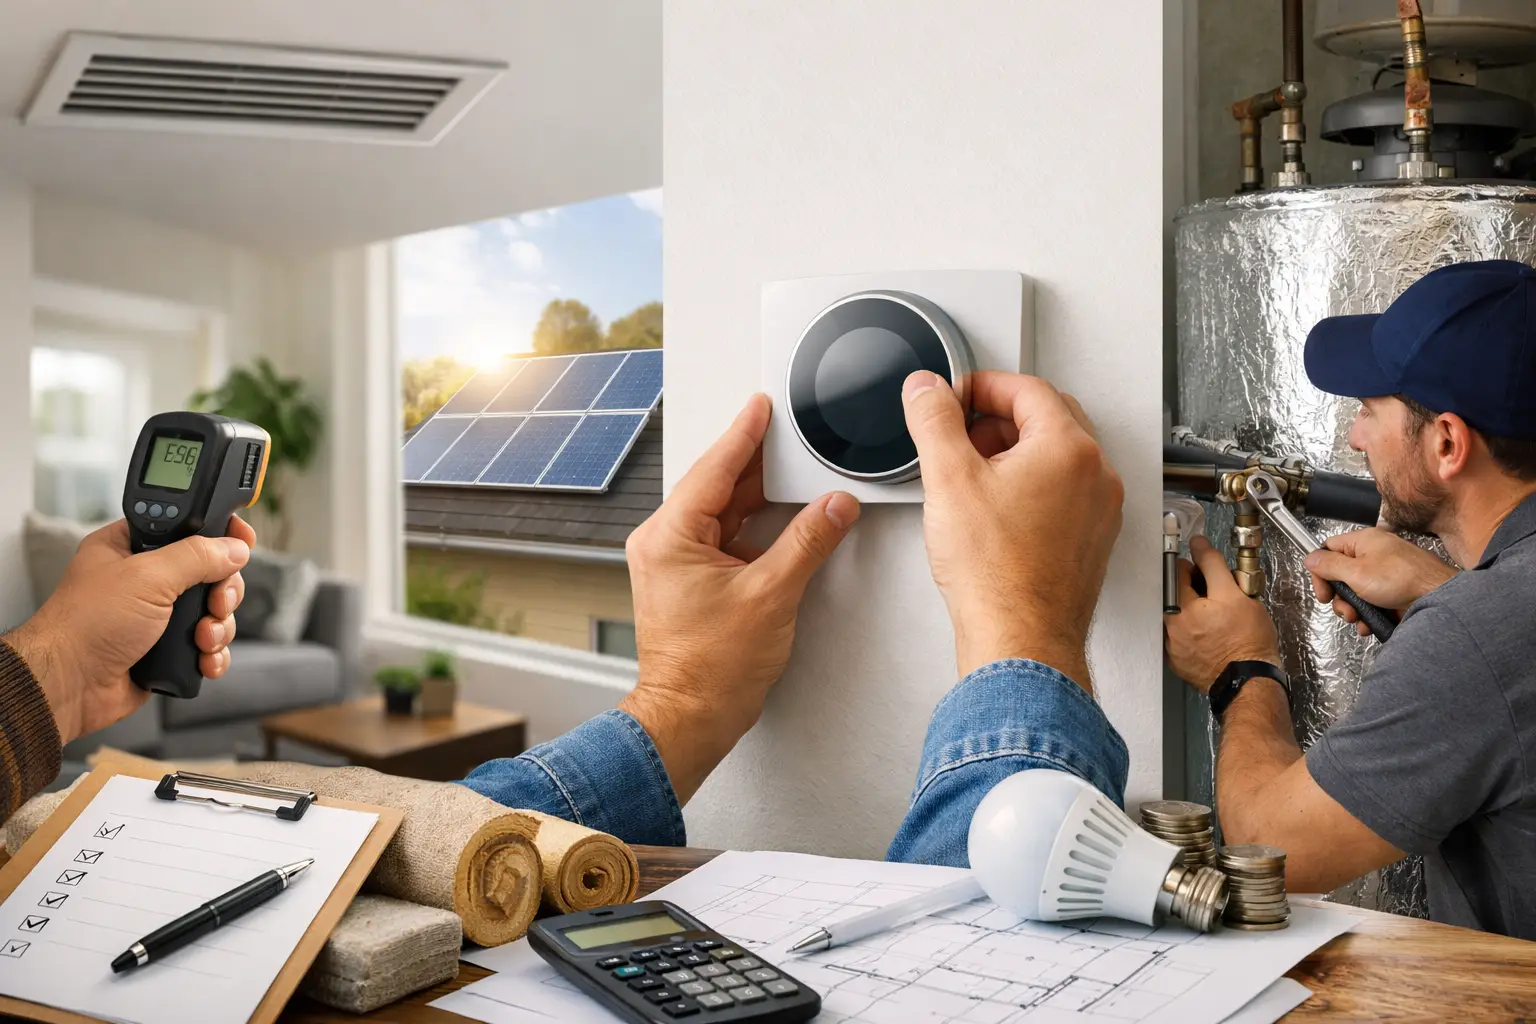
A professional energy assessment evaluates the home as a system. It may include a review of insulation levels, air leakage, duct performance, heating and cooling equipment, ventilation, moisture conditions, and major electric loads. Specialized diagnostic tools can identify issues that are not visible during a standard walkthrough, such as leakage pathways in an attic or conditioned air escaping through duct connections.
For homeowners, this assessment replaces guesswork with a prioritized plan. For multi-family operators, it can reveal recurring issues across similar units or buildings, helping direct capital spending where it will improve operating costs and resident comfort. Utility program partners gain a clearer basis for calculating demand reduction and validating program outcomes.
The goal is not to recommend every possible upgrade. It is to identify the measures that work together and make sense for the property, budget, climate, and occupancy pattern.
Step 1: Address Air Leaks and Building Shell Gaps
Air sealing is often one of the most cost-effective places to begin. Conditioned air can escape through openings around plumbing penetrations, recessed fixtures, attic hatches, exterior wall connections, doors, windows, and other gaps in the building envelope. In hot climates, those openings also allow humid outdoor air to enter, increasing both cooling and moisture loads.
Common low-cost measures include weatherstripping exterior doors, sealing accessible penetrations, and adding or improving attic hatch coverage. More significant leakage may require professional treatment of attic bypasses, duct chases, and other hard-to-reach areas.
Air sealing should be done carefully. A tighter home needs appropriate ventilation and combustion safety review, particularly where gas appliances are present. The answer is not to seal every opening without a plan. It is to control unwanted air movement while maintaining healthy indoor conditions.
Step 2: Improve Attic, Wall, and Floor Insulation
Once major air leaks are addressed, insulation can do its job more effectively. Insulation slows heat transfer, reducing the workload on heating and cooling equipment. In many existing homes, the attic is the highest-value location because it is accessible and exposed to intense heat gain or loss.
The appropriate insulation level depends on the local climate, the home’s construction, and what is already in place. Simply adding material without correcting air leakage, moisture concerns, or damaged insulation can produce disappointing results. An assessment helps determine whether an attic needs additional coverage, better distribution, or a more comprehensive approach.
Wall and floor insulation may also be worthwhile, though the cost and complexity are usually higher. For multi-family properties, insulation upgrades should be evaluated alongside unit turnover schedules, roof work, siding projects, and planned maintenance to control installation costs and tenant disruption.
Step 3: Repair and Seal the Duct System
A high-efficiency air conditioner or heat pump cannot perform as intended if its duct system is leaking into an attic, crawlspace, or unconditioned corridor. Leaky ducts waste conditioned air, create pressure imbalances, and can make certain rooms difficult to cool or heat.
Duct sealing, insulation, and airflow corrections can improve comfort before equipment replacement is even considered. In some homes, the issue is not the size of the HVAC unit but poor delivery of conditioned air to the rooms that need it.
This step requires more than a visual check. Effective duct work should identify leakage points, evaluate insulation, and verify that airflow is appropriate after repairs. In apartment communities, central systems and common-area equipment deserve the same attention as in-unit systems because their operating costs affect the entire property.
Step 4: Upgrade Heating and Cooling Equipment at the Right Time
After the home’s shell and duct system have been improved, evaluate heating and cooling equipment. If a system is near the end of its service life, requires frequent repair, or cannot maintain comfort, replacement may be justified. But sizing should be based on the improved home, not on the old equipment or a rule of thumb.
An oversized system can cycle on and off too frequently, reducing efficiency and humidity control. An undersized system may run continuously during peak weather. Proper load calculations, equipment selection, installation quality, and commissioning all affect real-world performance.
Smart thermostats can support savings when they match how a property is used. They are especially helpful for households with predictable schedules and for property managers overseeing vacant units or common areas. They are not a substitute for fixing insulation, air leakage, or failing equipment, but they can help preserve gains from those improvements.
Step 5: Reduce Water Heating and Appliance Loads
Water heating is often one of the largest energy uses in a home after heating and cooling. Start with practical measures: repair hot-water leaks, insulate accessible hot-water pipes, set an appropriate water temperature, and evaluate the condition of the existing water heater.
When replacement is needed, compare options based on fuel type, household demand, available space, installation requirements, and utility rates. A heat pump water heater can offer significant energy savings in the right setting, but it needs suitable installation space and may affect the temperature of the room around it. For some properties, that trade-off is manageable. For others, a different solution may be more practical.
Appliance upgrades should be timed around replacement needs rather than treated as the first efficiency priority. Replacing an old refrigerator, dishwasher, clothes washer, or dryer can reduce consumption, but envelope and HVAC improvements often produce greater whole-home benefits. LED lighting remains a straightforward exception because it is typically low cost, long lasting, and immediately reduces lighting energy use.
Step 6: Verify Results and Maintain the Improvements
A retrofit is not finished when the last piece of equipment is installed. Verification confirms that the work performs as intended. Depending on the scope, this can include post-installation diagnostic testing, equipment commissioning, utility-bill tracking, and review of resident or homeowner comfort concerns.
This matters for every audience. Homeowners want proof that upgrades are lowering energy use. Multi-family managers need documented results to support operating budgets and asset planning. Utility and implementation partners need reliable data tied to demand-side management and sustainability goals.
Maintenance protects the investment. Replace HVAC filters on schedule, keep outdoor equipment clear of debris, repair new air leaks or water damage promptly, and address comfort complaints before they become larger building-performance problems. Monitoring usage over time can also reveal when equipment begins operating outside its expected range.
How to Prioritize Upgrades When the Budget Is Limited
Not every property can complete a full retrofit at once. The practical approach is to start with measures that reduce waste, support future upgrades, and address health, safety, or durability concerns. Air sealing, attic insulation, duct repairs, and HVAC maintenance often create a strong foundation.
Then plan larger investments around equipment replacement cycles, major renovations, available utility incentives, and measurable savings potential. A multi-family owner may phase work by building or during unit turnover. A homeowner may combine attic work with an upcoming roof project. The best plan is one that fits the property’s actual needs without deferring the issues that are driving avoidable utility costs.
Performance Energy approaches retrofit planning as an outcome-driven process: assess the building, prioritize the highest-impact work, implement it correctly, and verify performance. That structure helps turn energy efficiency from a vague goal into a practical operating decision.
A more efficient home does not have to begin with the most expensive upgrade. Begin with evidence, correct the sources of waste, and make each improvement support the next one. That is how lower bills, stronger comfort, and lasting building performance become achievable results rather than assumptions.