
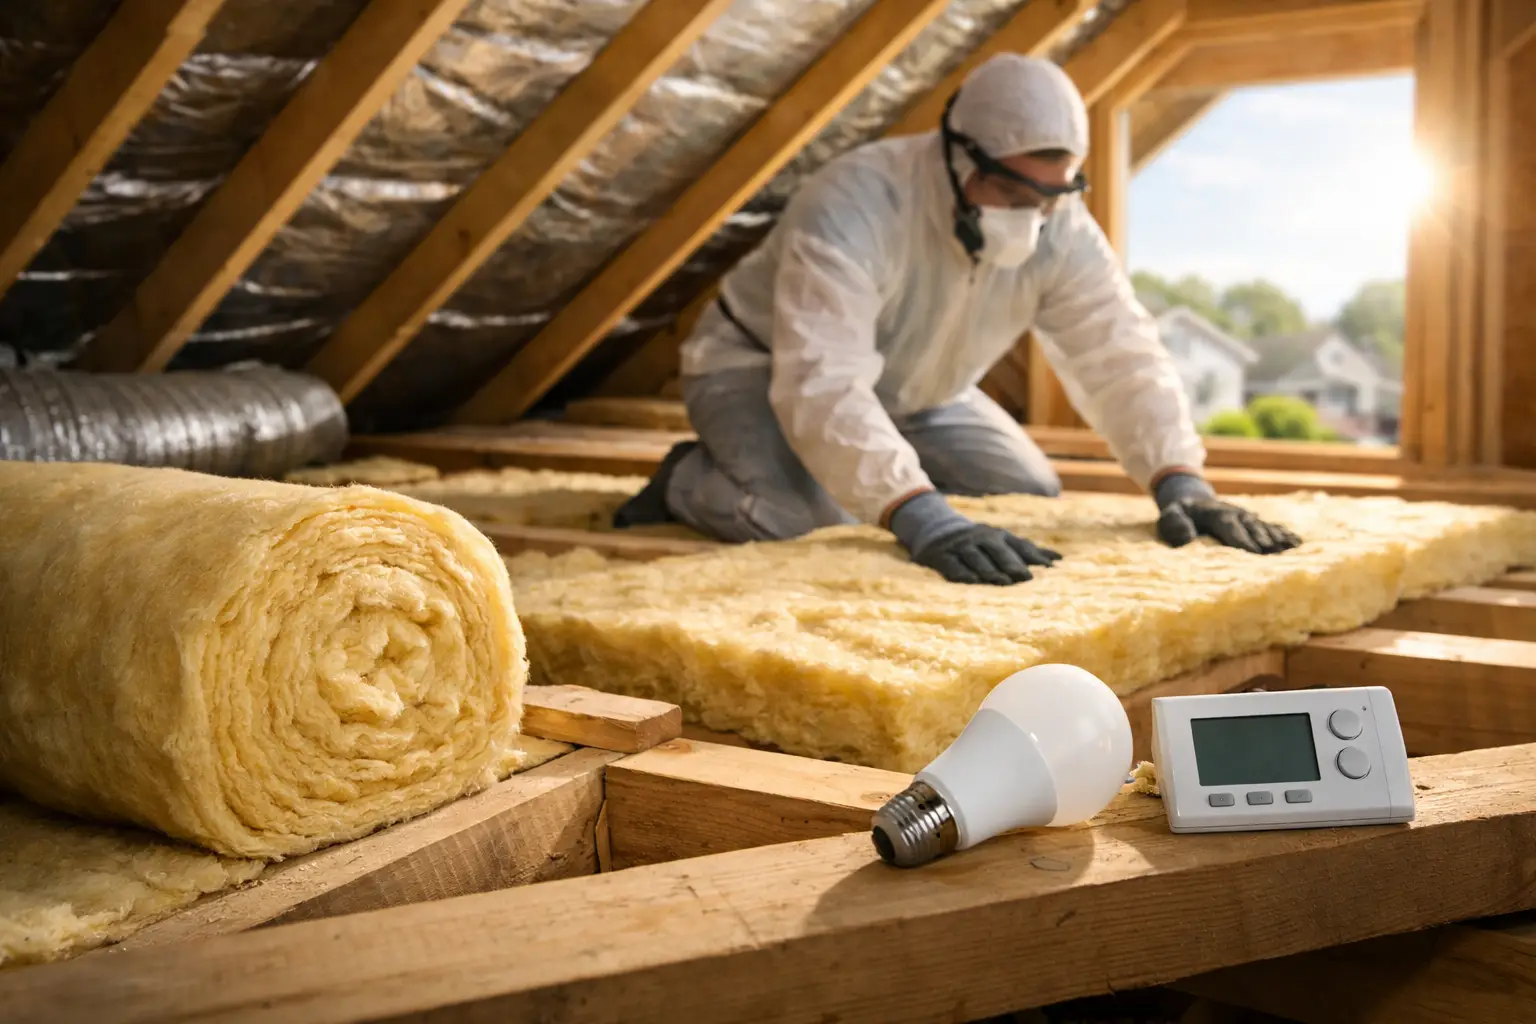
A home can have a new HVAC system and still waste conditioned air through the ceiling all year long. Learning how to improve attic insulation starts with recognizing that insulation is only one part of the assembly. Air leaks, moisture issues, blocked ventilation, and uneven coverage can all reduce performance and keep electricity bills higher than they should be.
For homeowners, the goal is better comfort and lower monthly utility costs. For multifamily operators, attic upgrades can reduce common-area and unit energy use while improving resident comfort across an entire property. For utility program partners, properly designed insulation improvements create measurable demand reduction that supports energy-efficiency goals.
Start With an Attic Assessment, Not More Material
Adding insulation without evaluating the attic first can lock in problems rather than solve them. A professional assessment should identify the current insulation type and depth, areas with missing or compressed material, visible air leaks, moisture staining, duct issues, and ventilation conditions.
The attic floor should have a consistent blanket of insulation with no exposed or thin areas. Common trouble spots include the attic hatch, perimeter edges, areas around recessed lights, plumbing and wiring penetrations, and locations where contractors have moved insulation to access equipment.
Older homes often have insulation levels that were acceptable when they were built but fall short of current efficiency expectations. Even newer homes can have installation gaps that prevent the insulation from delivering its intended R-value.
For multifamily buildings, conditions may vary between attic sections and building wings. A representative inspection is useful, but decisions should be based on enough field data to identify recurring installation or envelope issues throughout the property.
Understand R-Value and What Your Climate Requires
R-value measures an insulation material’s resistance to heat flow. Higher R-values generally provide better thermal resistance, but the right target depends on climate zone, existing conditions, available attic space, and the type of insulation selected.
Many U.S. attics benefit from levels in the R-38 to R-60 range, particularly when existing insulation is thin, uneven, or outdated. That range is not a substitute for an onsite assessment. A low-slope roof, limited clearance near the eaves, existing ductwork, or moisture concerns can change the proper scope of work.
The material matters, but installation quality matters just as much. Insulation that is compressed, poorly distributed, or interrupted by gaps will not perform at its rated level. The practical objective is complete, even coverage that maintains the intended depth across the attic floor.
Air Seal Before You Add Attic Insulation
Insulation slows heat transfer. It does not stop air movement. If warm air escapes into the attic during winter, or hot attic air enters the living space during summer, adding insulation alone will not fully solve the problem.
Air sealing should be completed before new insulation is installed. Typical leakage points include top plates, plumbing stacks, electrical penetrations, open wall cavities, chases, and gaps around exhaust fans or attic access points. These openings may be small individually, but together they can create a significant path for conditioned air to leave the building.
Air sealing also helps control moisture. In colder conditions, indoor air that leaks into an attic can condense on cold surfaces, contributing to mold growth, wood deterioration, and reduced insulation performance. In hot, humid climates, uncontrolled air movement can increase humidity loads and make cooling systems work harder.
This is where a building-science approach delivers better results than a simple add-more-insulation approach. The attic needs to function as part of the entire building envelope, not as an isolated project.
Choose the Right Insulation Method
The best insulation option depends on the attic configuration, condition of the existing material, budget, and project goals. In many accessible attics, blown-in insulation is an effective way to achieve uniform coverage over large areas. It can fill around framing and reach areas that are difficult to cover consistently with batts.
Batt insulation can work well in open, regularly framed spaces when it is installed carefully and without gaps, folds, or compression. It is less forgiving in attics with irregular framing, obstructions, or extensive mechanical equipment.
Spray foam may be appropriate when the goal is to insulate along the roof deck and bring the attic into the conditioned space. This approach can be valuable when HVAC equipment or ducts are located in the attic, but it requires careful design. Roofline insulation changes how the attic handles heat and moisture, so ventilation strategy, roof condition, and combustion safety must all be evaluated first.
Removing existing insulation is not always necessary. If the material is dry, uncontaminated, and reasonably distributed, it can often remain in place while air sealing and additional insulation are added. Removal may be warranted when insulation is wet, mold-contaminated, pest-damaged, heavily soiled, or preventing needed air-sealing work.
Protect Ventilation, Access, and Safety Details
A well-insulated attic still needs to manage moisture and protect critical building components. In a vented attic, insulation should not block soffit vents. Baffles or vent chutes maintain an air path from the soffits while keeping loose-fill insulation from drifting into the eaves.
The attic hatch is another frequent weak point. It should be weatherstripped, insulated to a comparable level as the surrounding attic floor, and secured so it closes tightly. A pull-down stair opening often needs an insulated cover or enclosure above it to reduce a major source of air leakage.
Keep insulation away from heat-producing fixtures unless they are rated for insulation contact. Bathroom and kitchen exhaust fans should vent outdoors, not into the attic. Exhausting humid air into an insulated attic invites moisture damage and undermines the investment in efficiency.
For property managers, safety details should be standardized across the portfolio. Clear walkways to service equipment, protected electrical components, appropriate clearances, and documented ventilation conditions make future maintenance easier and help preserve retrofit performance.
Do Not Ignore Ducts and Equipment in the Attic
Attic insulation delivers less value when leaky or poorly insulated ducts run through extreme temperatures. In summer, attic heat can raise supply-air temperatures before cooled air reaches the rooms below. In winter, duct losses can make upper floors feel cold even when the heating system is operating normally.
Inspect ducts for disconnected sections, damaged insulation, unsealed joints, and crushed flex duct. Sealing and insulating ducts can significantly improve delivered comfort and reduce HVAC runtime. If equipment replacement is planned, address the attic enclosure first whenever possible. A tighter, better-insulated home may require less heating and cooling capacity, helping avoid an oversized replacement system.
In multifamily properties, attic duct configurations can be more complex. A phased assessment can identify the buildings or units with the greatest loss potential and create a scope that balances capital planning with measurable energy savings.
Know When a Professional Retrofit Is the Better Choice
A homeowner can add insulation in a straightforward attic, but the lowest-cost approach is not always the lowest-cost outcome. Air-sealing access can be limited, ventilation can be easy to disrupt, and concealed moisture or electrical issues can turn a simple project into a costly correction.
Professional retrofit teams bring diagnostic experience, installation controls, and a clearer understanding of how insulation, air leakage, ventilation, HVAC systems, and occupant comfort work together. That matters especially for multifamily properties and utility-funded programs, where documentation, consistency, and verified savings are essential.
Performance Energy approaches attic upgrades as a building-performance measure, not a commodity purchase. The focus is on identifying the conditions driving energy loss and completing the work needed to produce dependable, measurable results.
Make the Upgrade Work for the Long Term
After insulation work is complete, keep the attic dry and accessible for periodic inspection. Check for roof leaks after major storms, confirm that exhaust ducts remain connected, and avoid piling stored items on top of insulation. If utility bills remain unexpectedly high, investigate the full building envelope and HVAC system rather than assuming the attic is the only issue.
The most effective attic project is the one that matches the building’s actual needs: air sealed where it leaks, insulated to an appropriate level, ventilated or conditioned by design, and installed with attention to detail. That is how an attic becomes a lasting source of lower energy use, improved comfort, and stronger building performance.